This tutorial will explain how to create great type compositions and text art using VeraType for Android or VeraType for Mac or PC. We are going to take a poem and shape it into the form of an image.
This is part two in a three part series. Please read before continuing.
Part I – How to create great type art
Part III – Sharing your type compositions
Here is the final image.

Click to Enlarge
Adding your own text
We are going to work with the poem, “The Raven” by Edgar Allen Poe.
First import an image of a raven as shown below.

Import of Raven
Next, type the text into the text area and set the text switch to “ON”. When you do this the text you’ve typed will be shown in the image.
You can see the text is now in the image.

Import of The Raven
You can also copy the text to the clipboard and paste it into the text area. The procedure for copying and pasting differs among the various operating systems and mobile devices. In this example I’ve copied the text from this page.
It may or may not take some time to render. It will render as you type. So if you have a lot of text to type you could turn off the text rendering until you are done typing and then turn it back on.
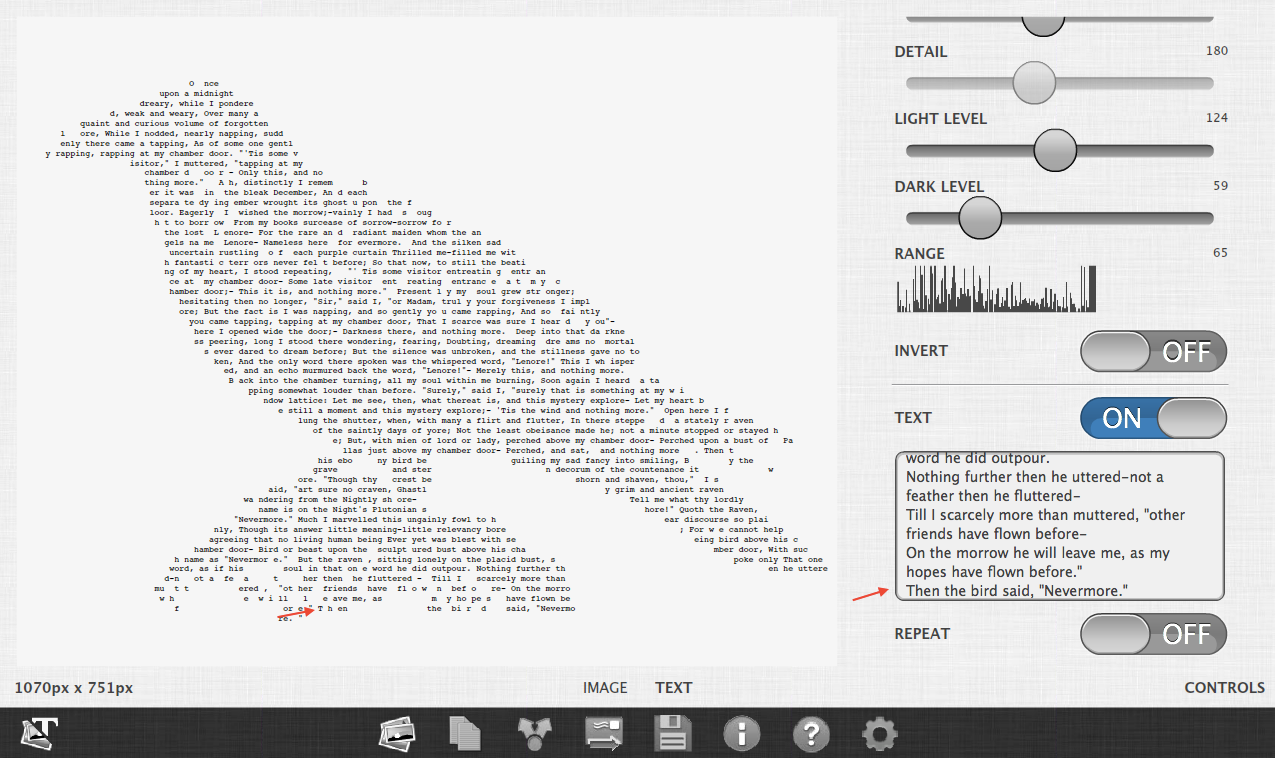
Note: In this example I’ve only copied the text from the first page (which is only half of the poem the last line being, “Then the bird said, ‘Nevermore'”.
Notice the red markings in the next image. Click to enlarge.
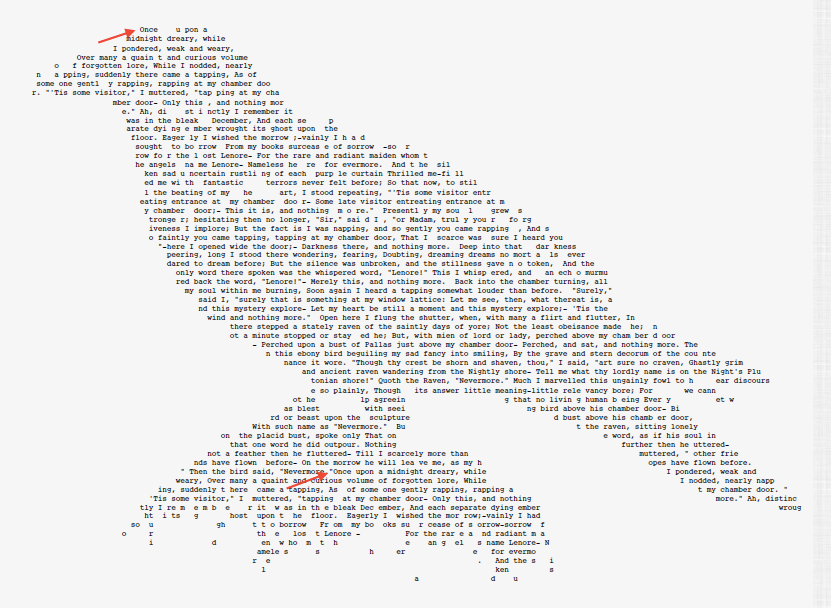
Text Repeat
These indicate the start of the poem and then the position the poem repeats. The reason the text repeats is because the Repeat switch is set to “ON”. This is on by default to help fill out the image. Be sure to add a space at the end of your text if Repeat is on. If you have a decent amount of text already or if you don’t want to repeat the text then you can set this option to “OFF”.
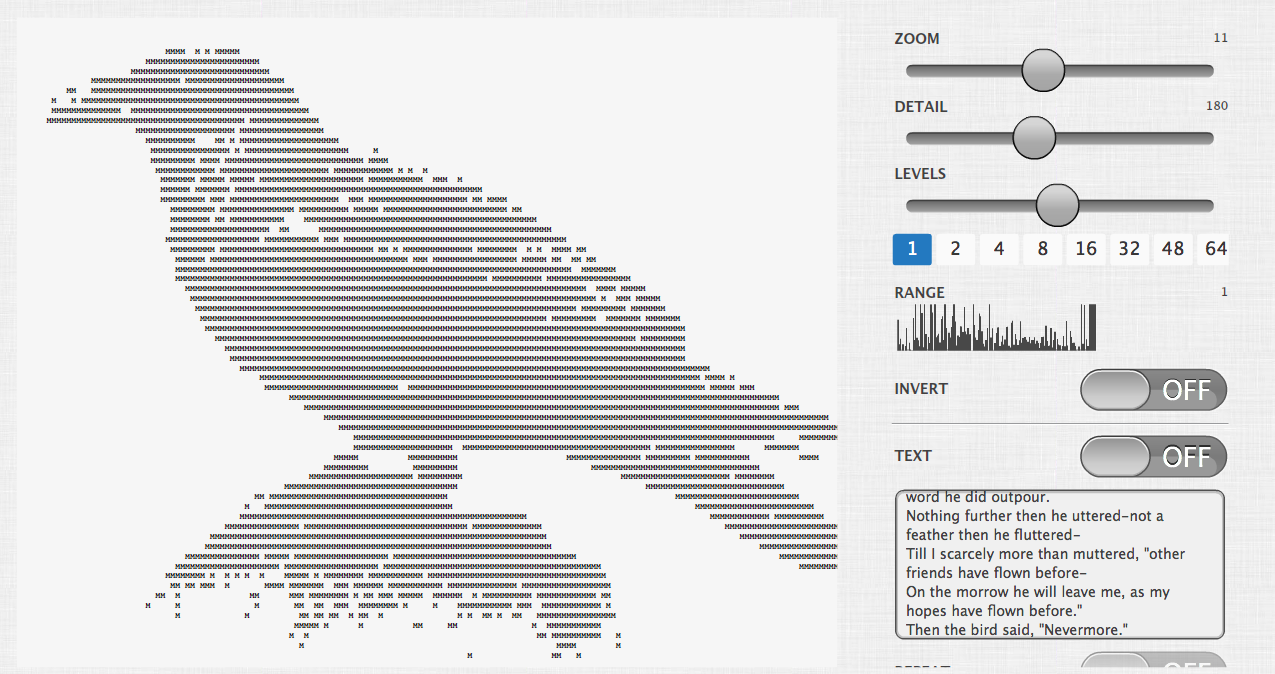
When you set Repeat to “OFF” the application automatically increases or decreases the detail value of the image until it matches the amount of text you’ve provided. Notice the last line of text entered in the text area matches the last line of text in the image.
Repeat is off
When Repeat is set to “OFF” and when you don’t have a lot of text it will be very small and indistinguishable. It will most likely look like nothing. The more text you have the more the image will fill out.
If there is a lot of text it can take some time to process. It is not known how long it will take but it will depend on the amount of text you’ve entered and the image.
Note: When you set Repeat to “OFF” the detail level slider will be disabled. This is because the detail level has to be auto calculated to fit the content.
The image in the example so far is good but it’s not great. That’s because we are still treating it like an image with a gradient of colors. We can increase the quality of the image by increasing the brightness level to about 230. Now look at the image.

Adjusted image
It may not be that apparent but you will see the difference soon.
What we did was go from a setting that shows a full range of light and dark characters to a setting that shows only a range of visible and non-visible characters. We do this because the text content you provide is either going to be a alpha numeric letter or blank (IE a space character).
In the images below, I’ve switched to using the Levels Controls so you can see the difference. Notice the Levels slider.
Before
Normal coverage
After
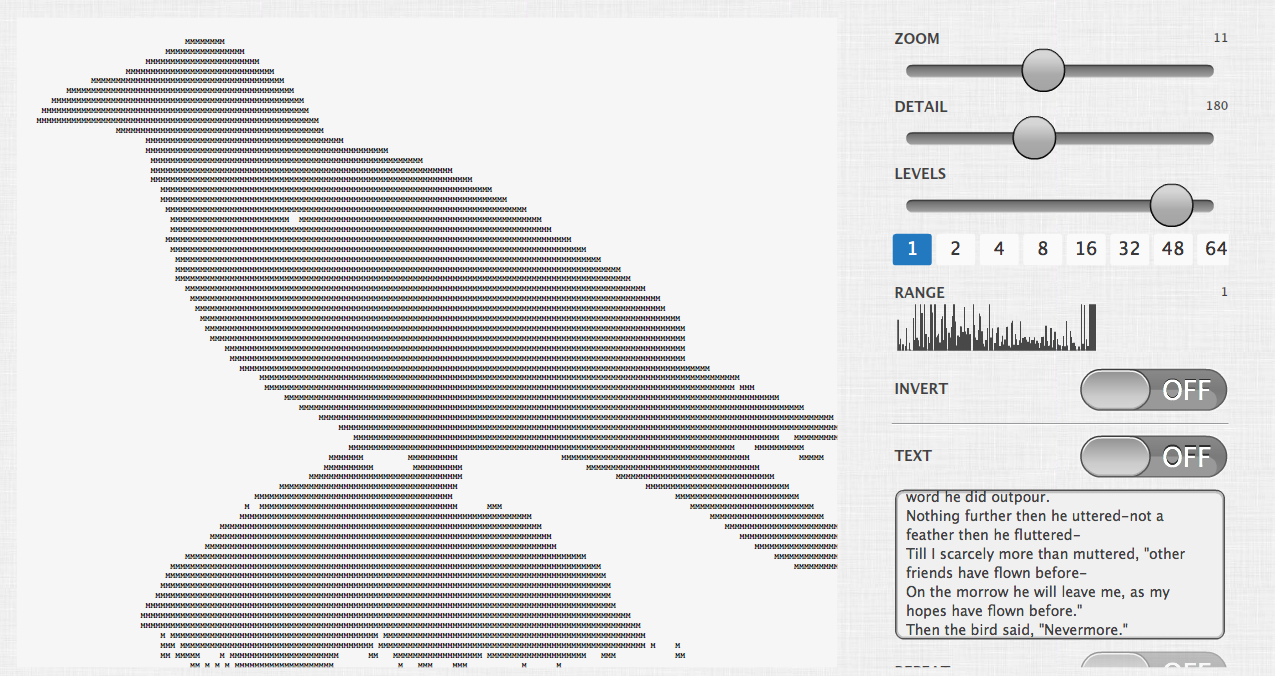
Full coverage
Since we are not showing a gradient and we will eventually replace the image with our own text we increase the level setting to fill in the image.
Set the Text setting to “ON” to use your own text again. Now change the levels setting and you can see the difference. You typically will have to make adjustments to get the desired outcome.
Final image
Final
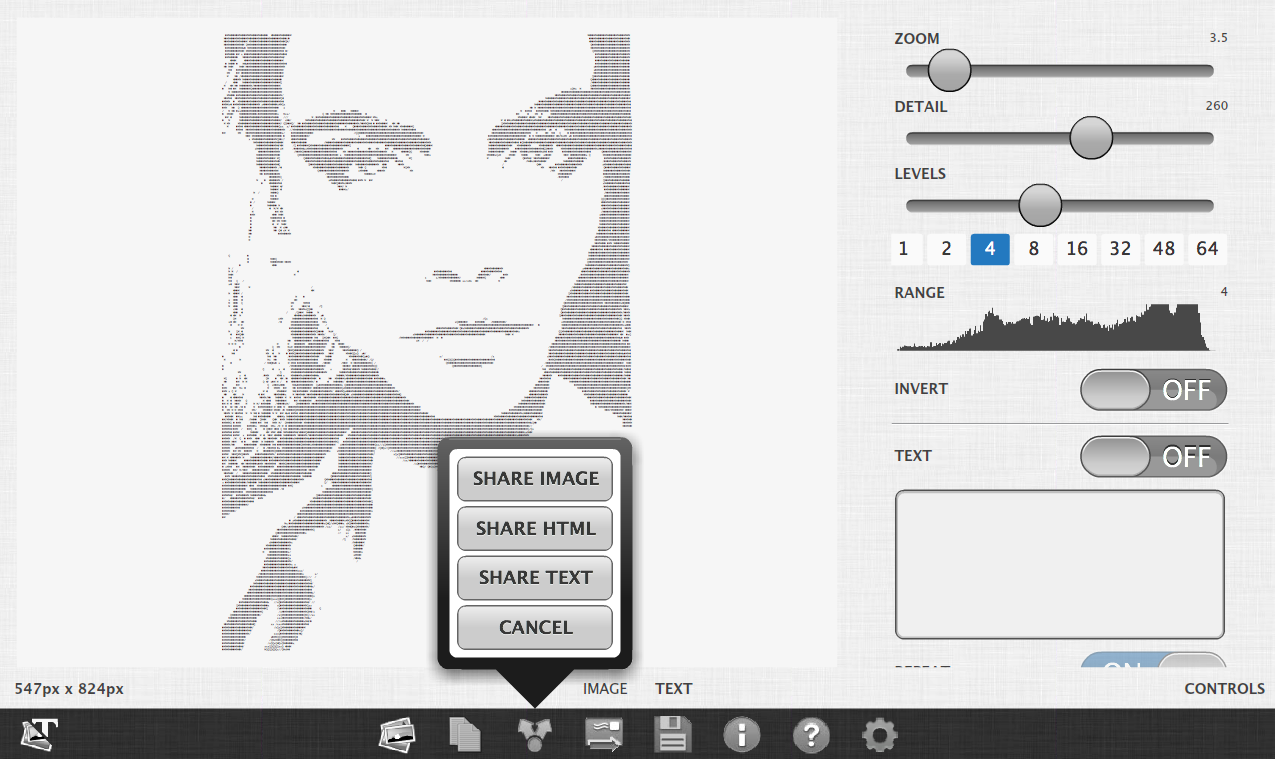
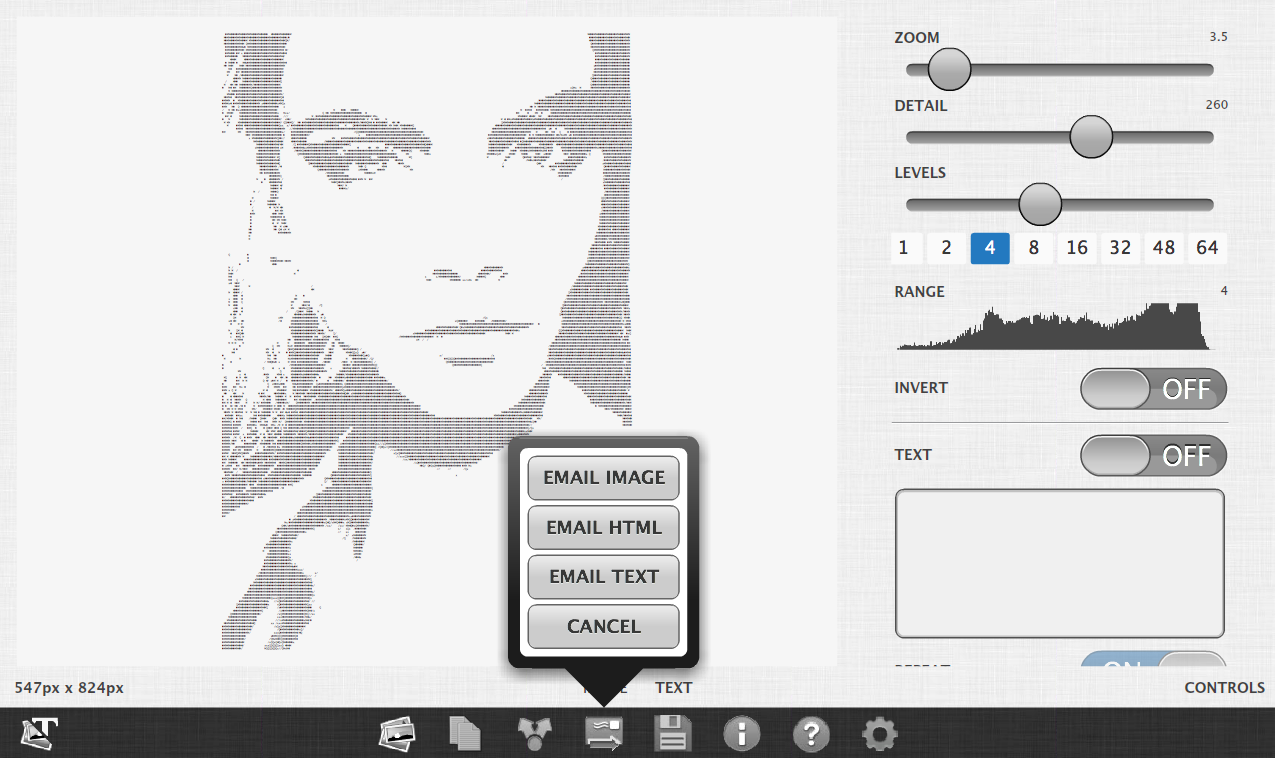
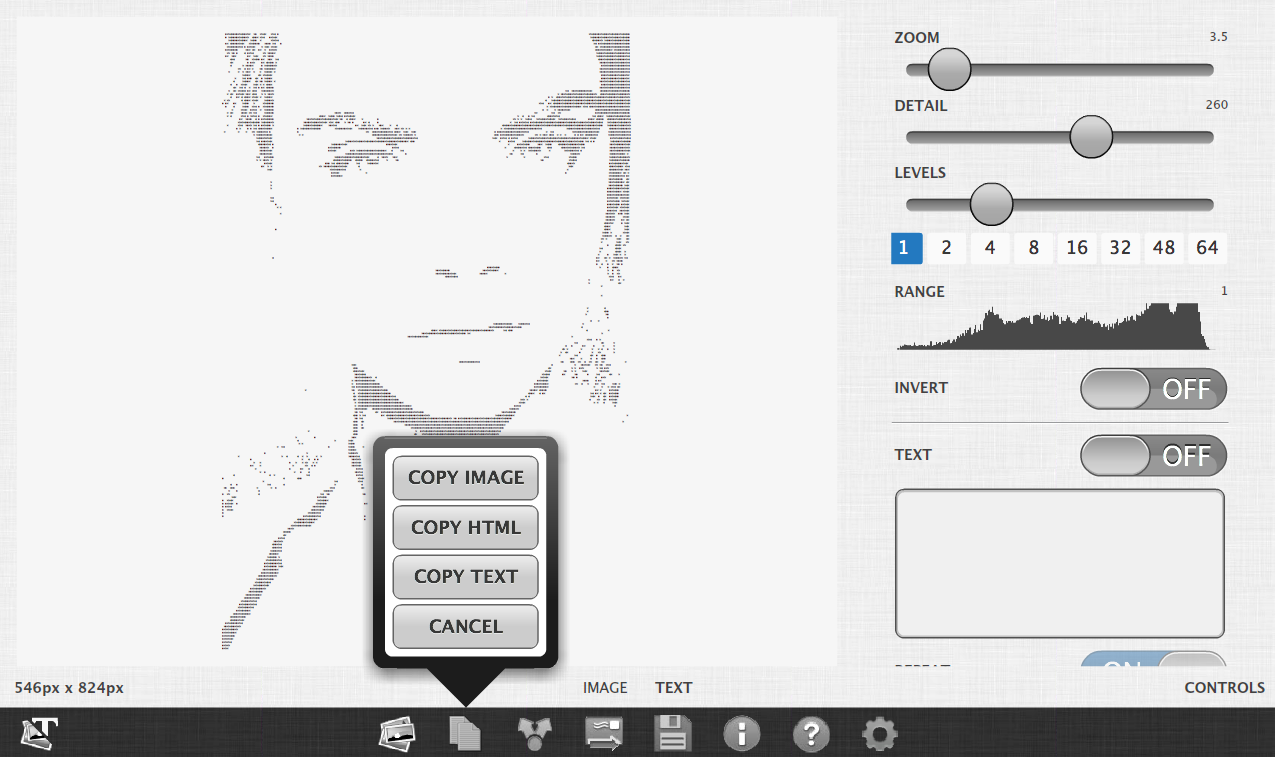
PART III – How to export and share your type compositions
If you like this application please let others know about it.
© All images copyright their respective owners.