To create your plugin UI visually using Adobe XD and Web Export follow the following steps.
- Install Web Export version 8 or greater
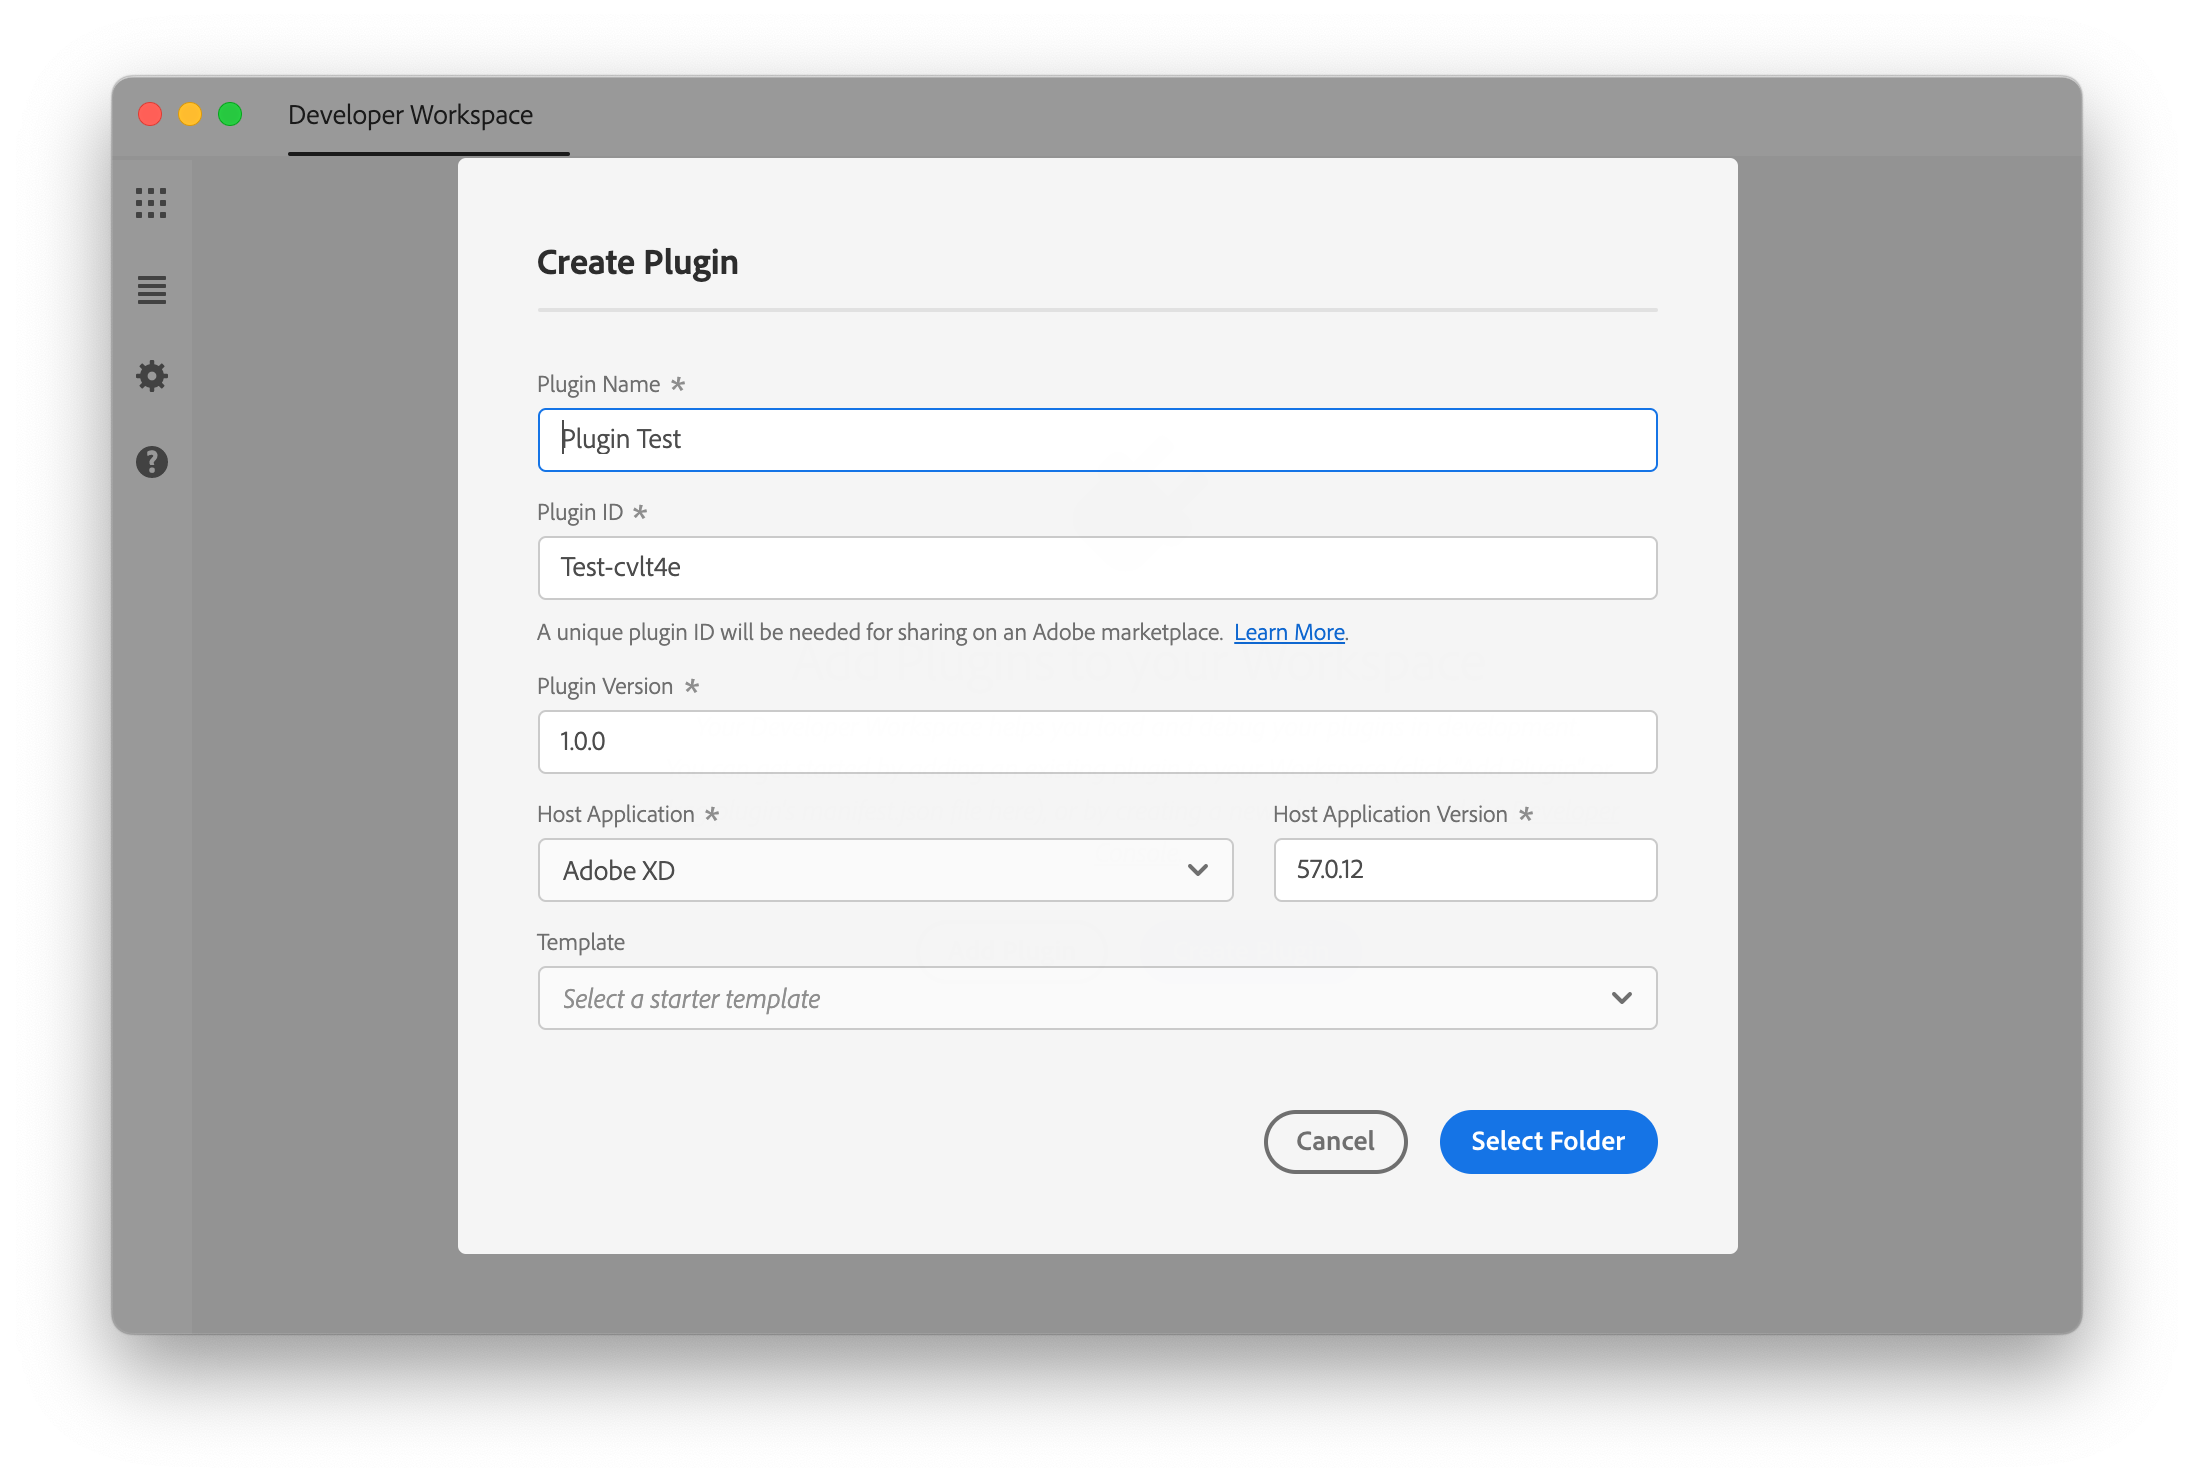
- Create a new plugin in UDT


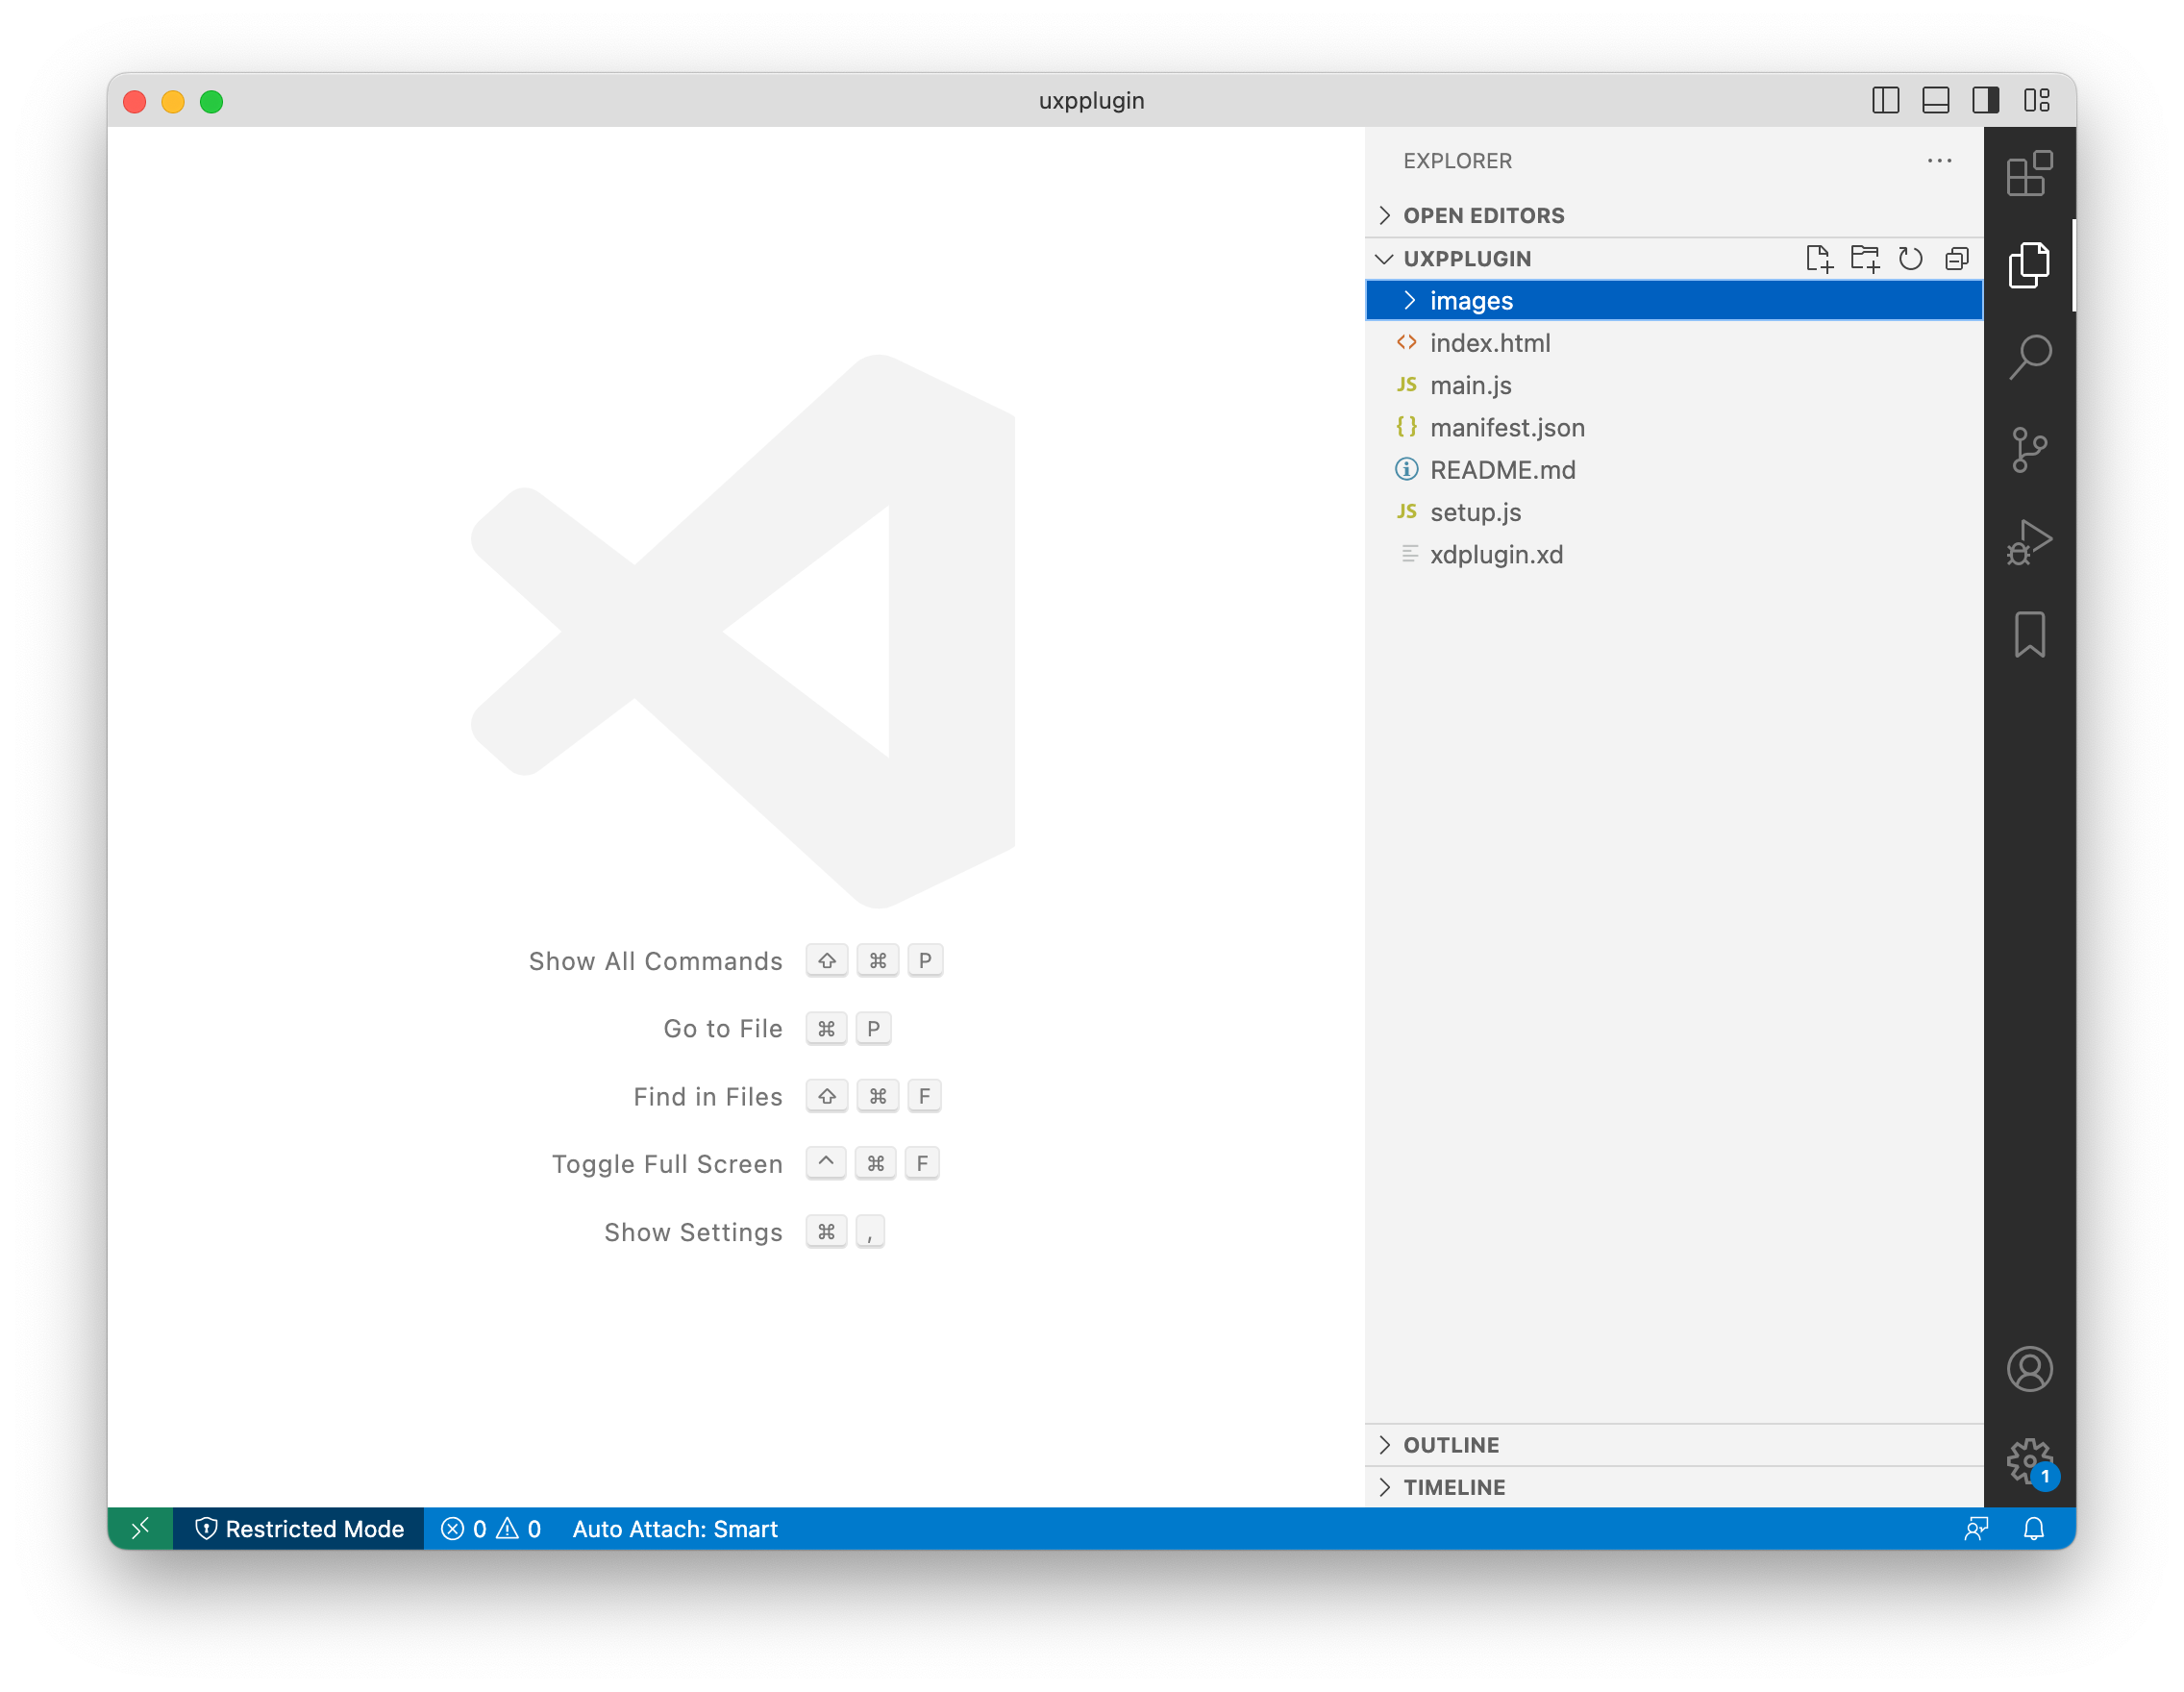
- Open VSCode and create “setup.js”


- In that file add the following javascript (shown as text below)
- In the plugin open the manifest and use the manifest code below to point to version 5 manifest and setup code
- Unload and reload the plugin in UDT (the plugin should show some new options in XD plugins panel)
- In UDT set the plugin to watch to automatically
- Create a new XD project in the plugin directory
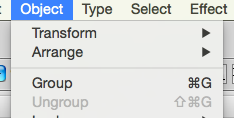
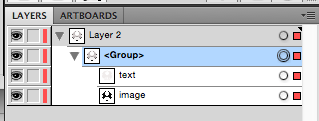
- In XD create two artboards

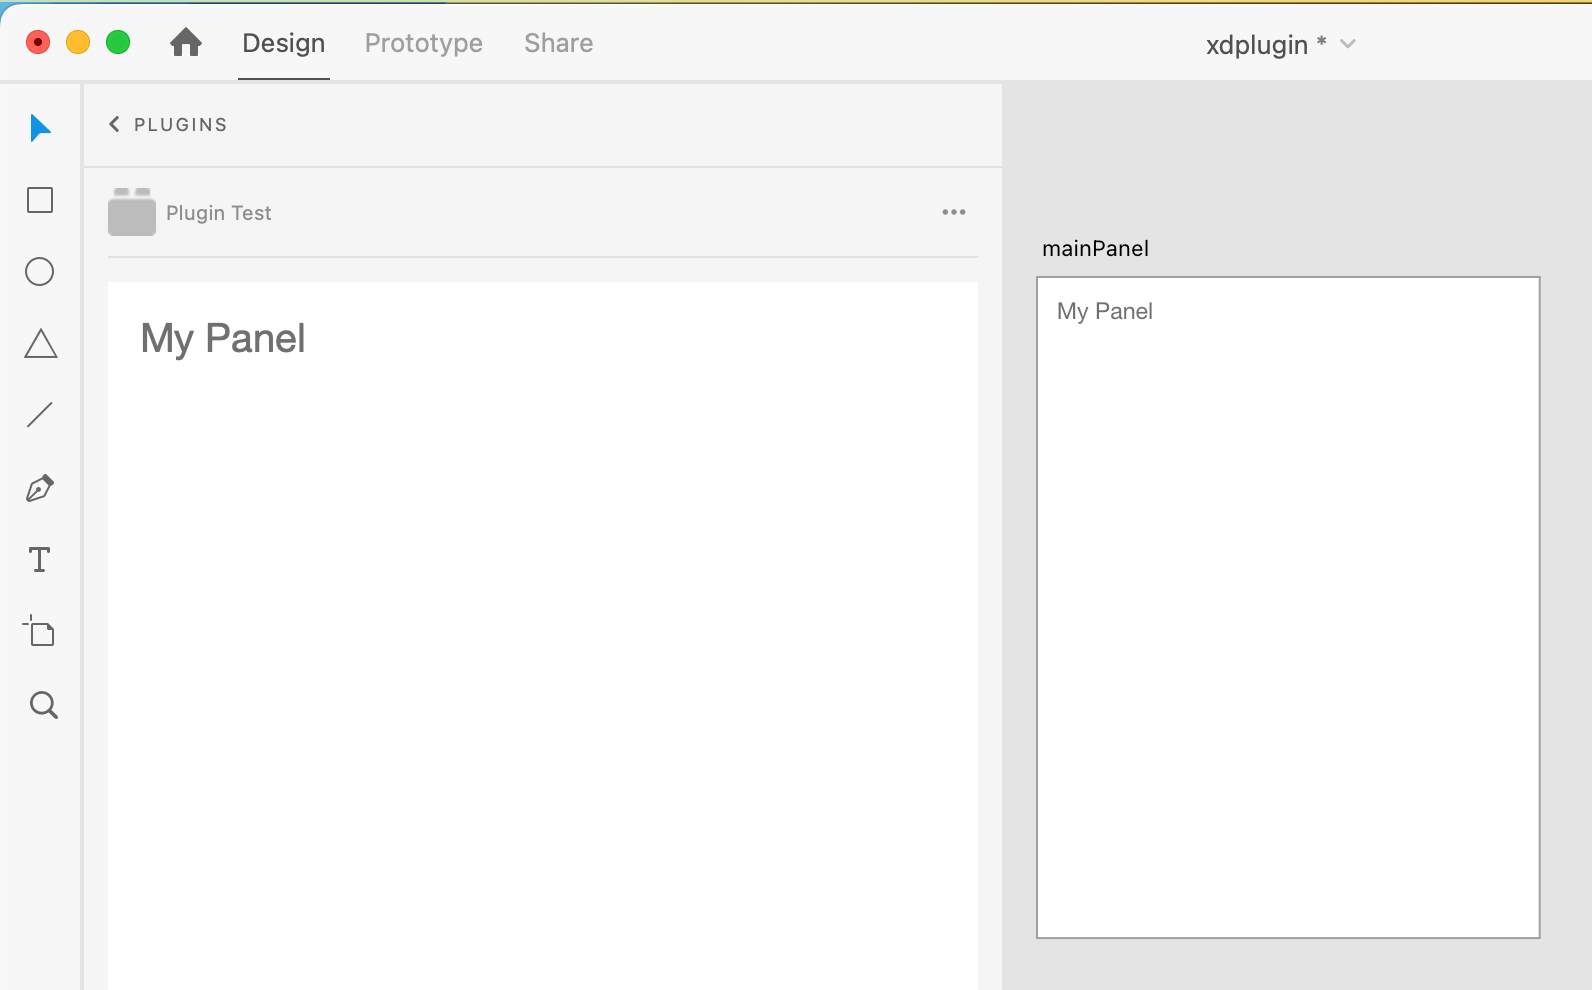
- Open Web Export element options panel and name the first artboard “mainPanel”
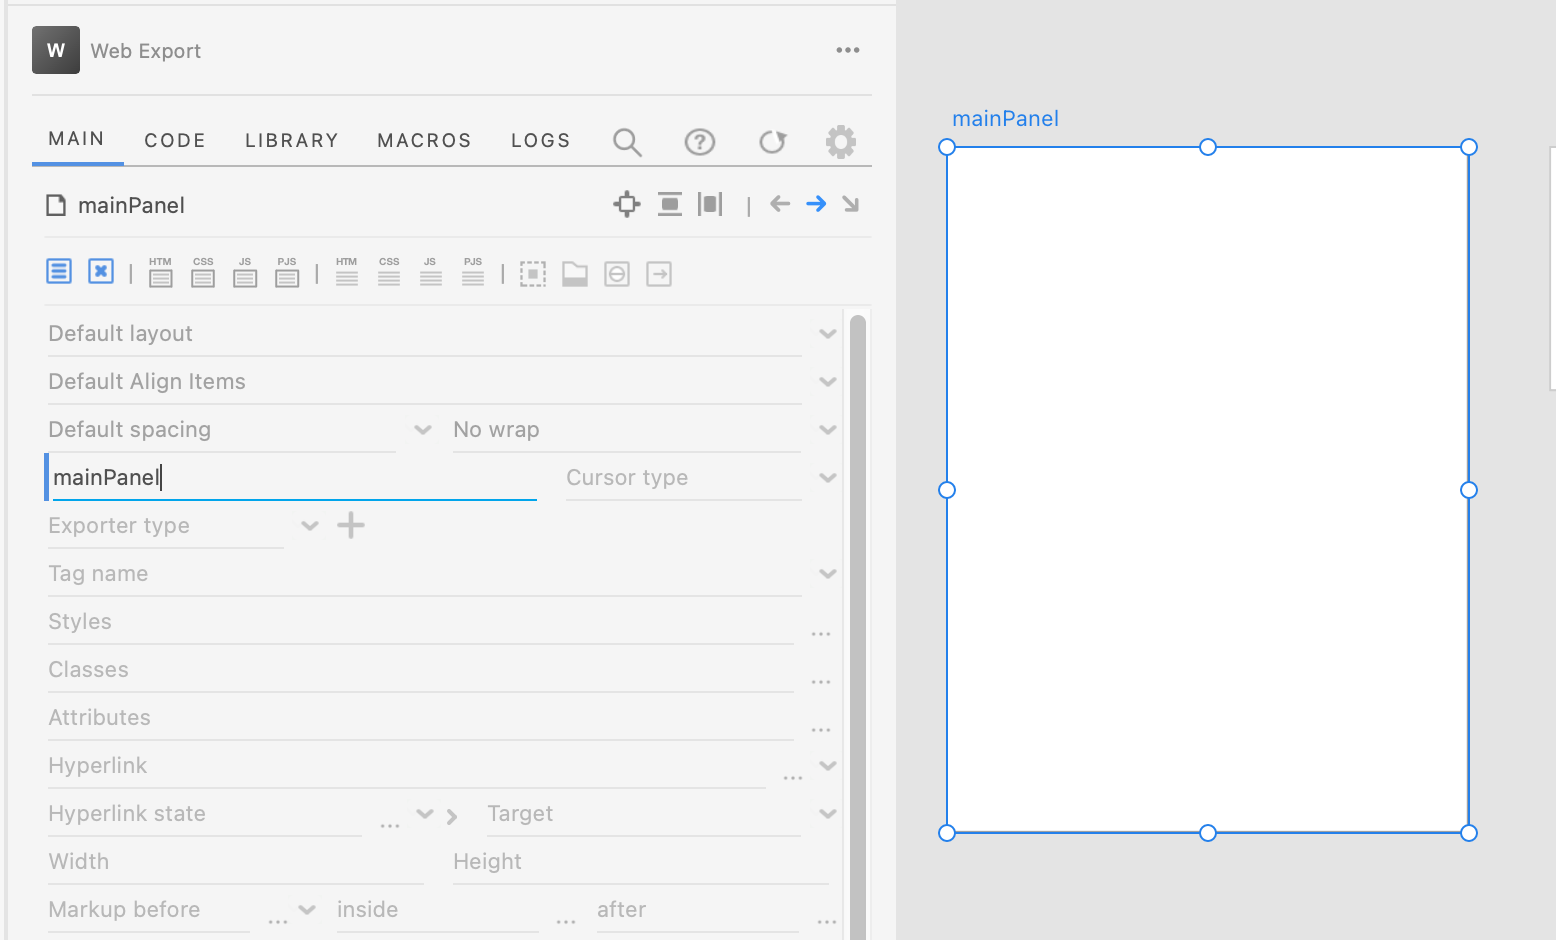
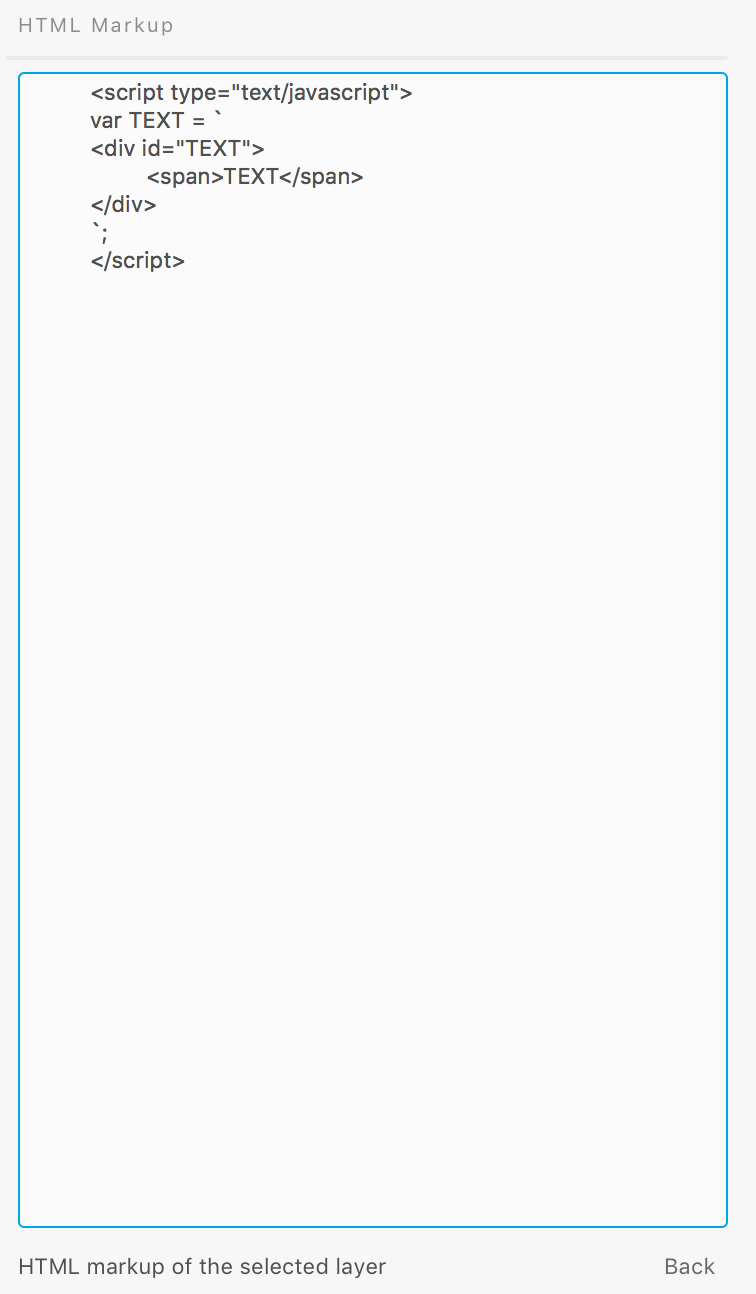
- In the first artboard HTML template add a reference to the setup javascript file


- In the second artboard name that “dialog” and set the tag name to “dialog”

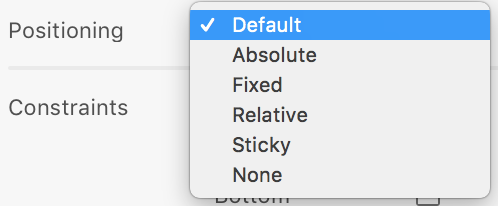
- In the styles field enter “position: relative”

- Add some content to both to show that they are the panel and a dialog, “My Panel” and “My dialog”

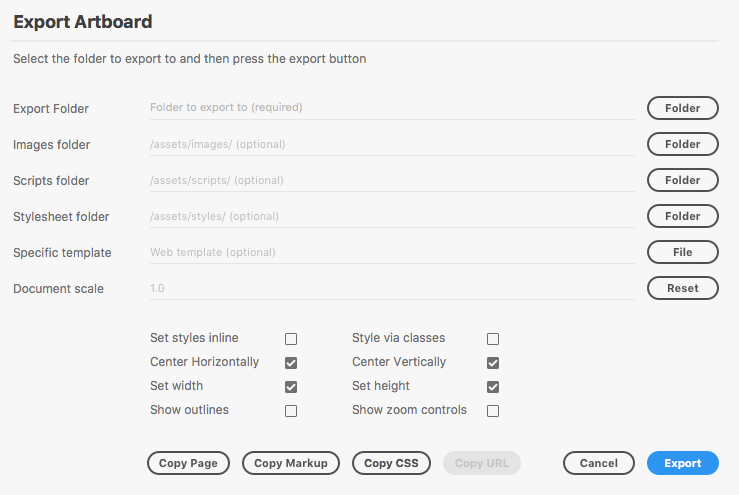
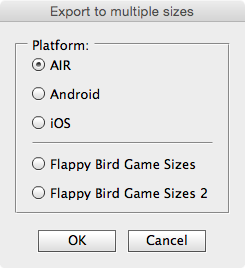
- Select both artboards and open the Web Export export dialog (select dialog first and then main panel second)

- Make sure mainPanel artboard is shown in the dialog (select it last)

- Name the page “index”
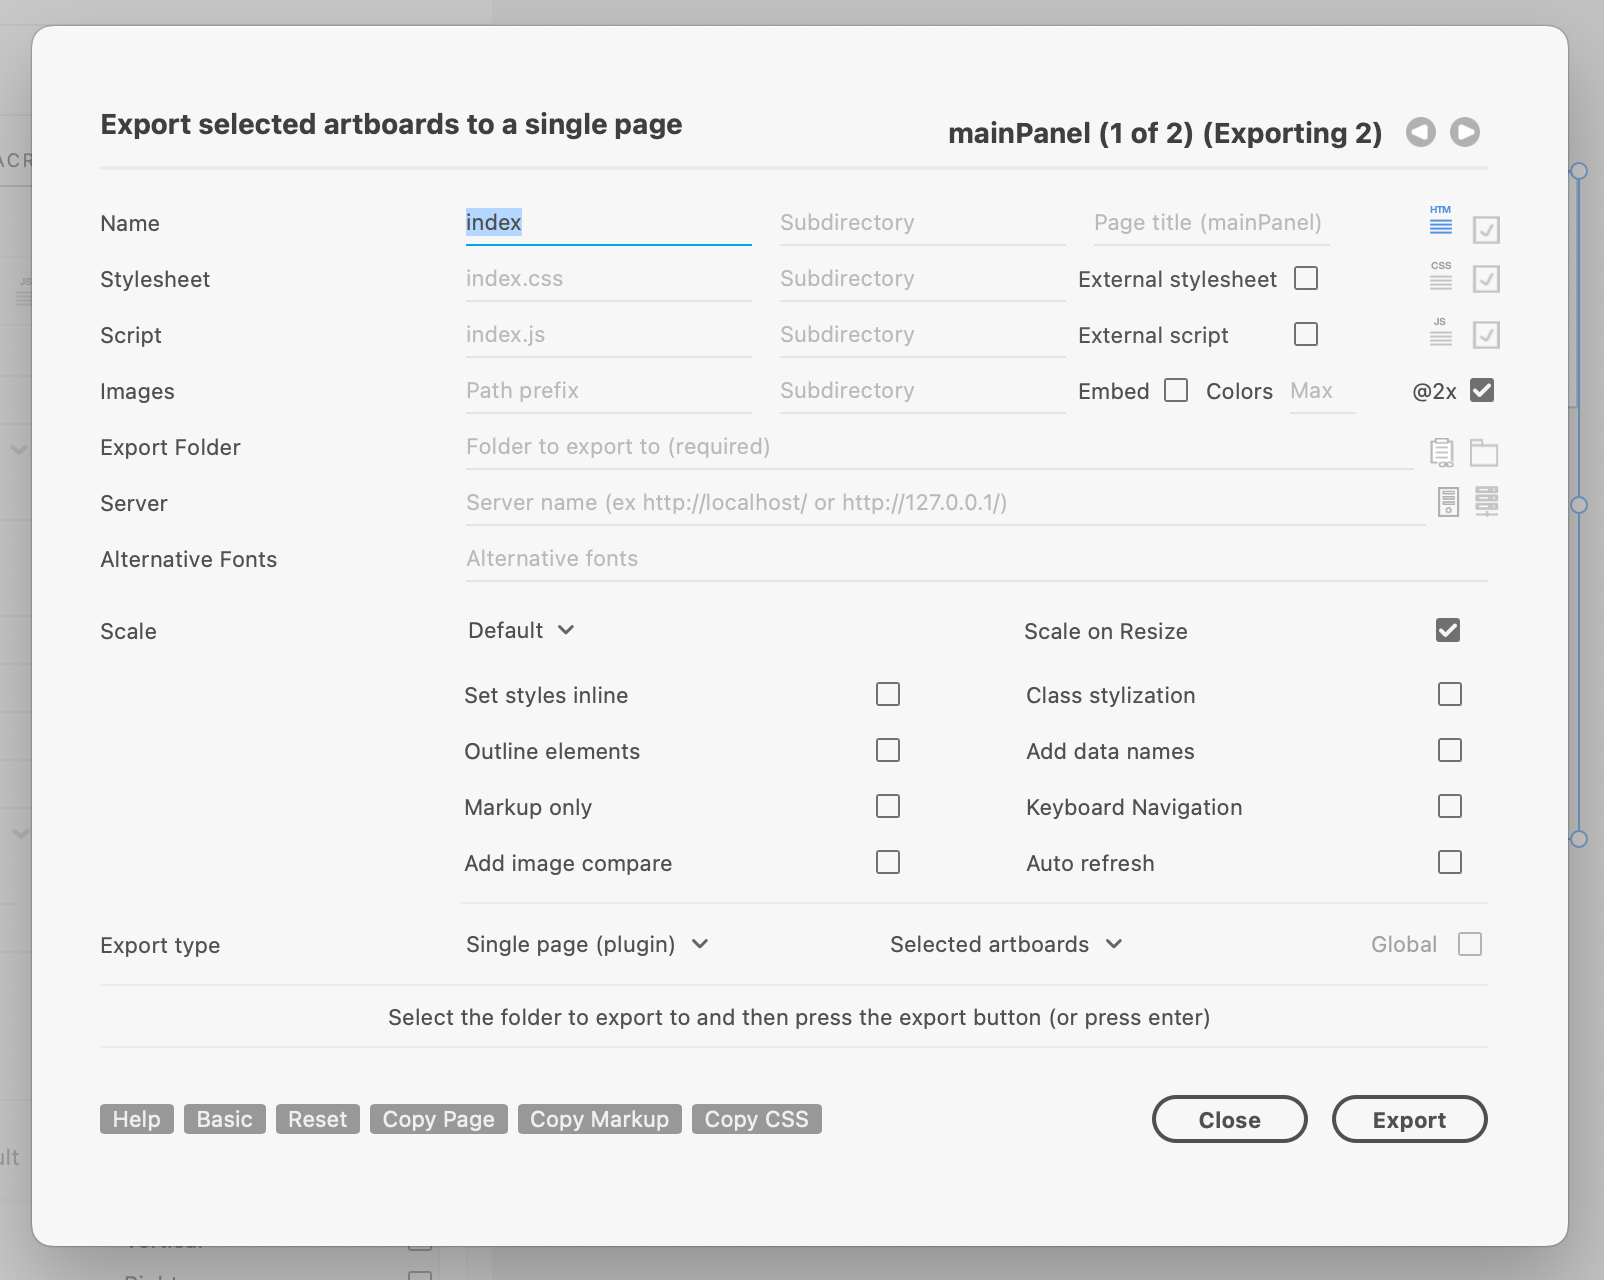
- In the dialog select “Single Page (plugin)” export option

- Select “Selected Artboards”

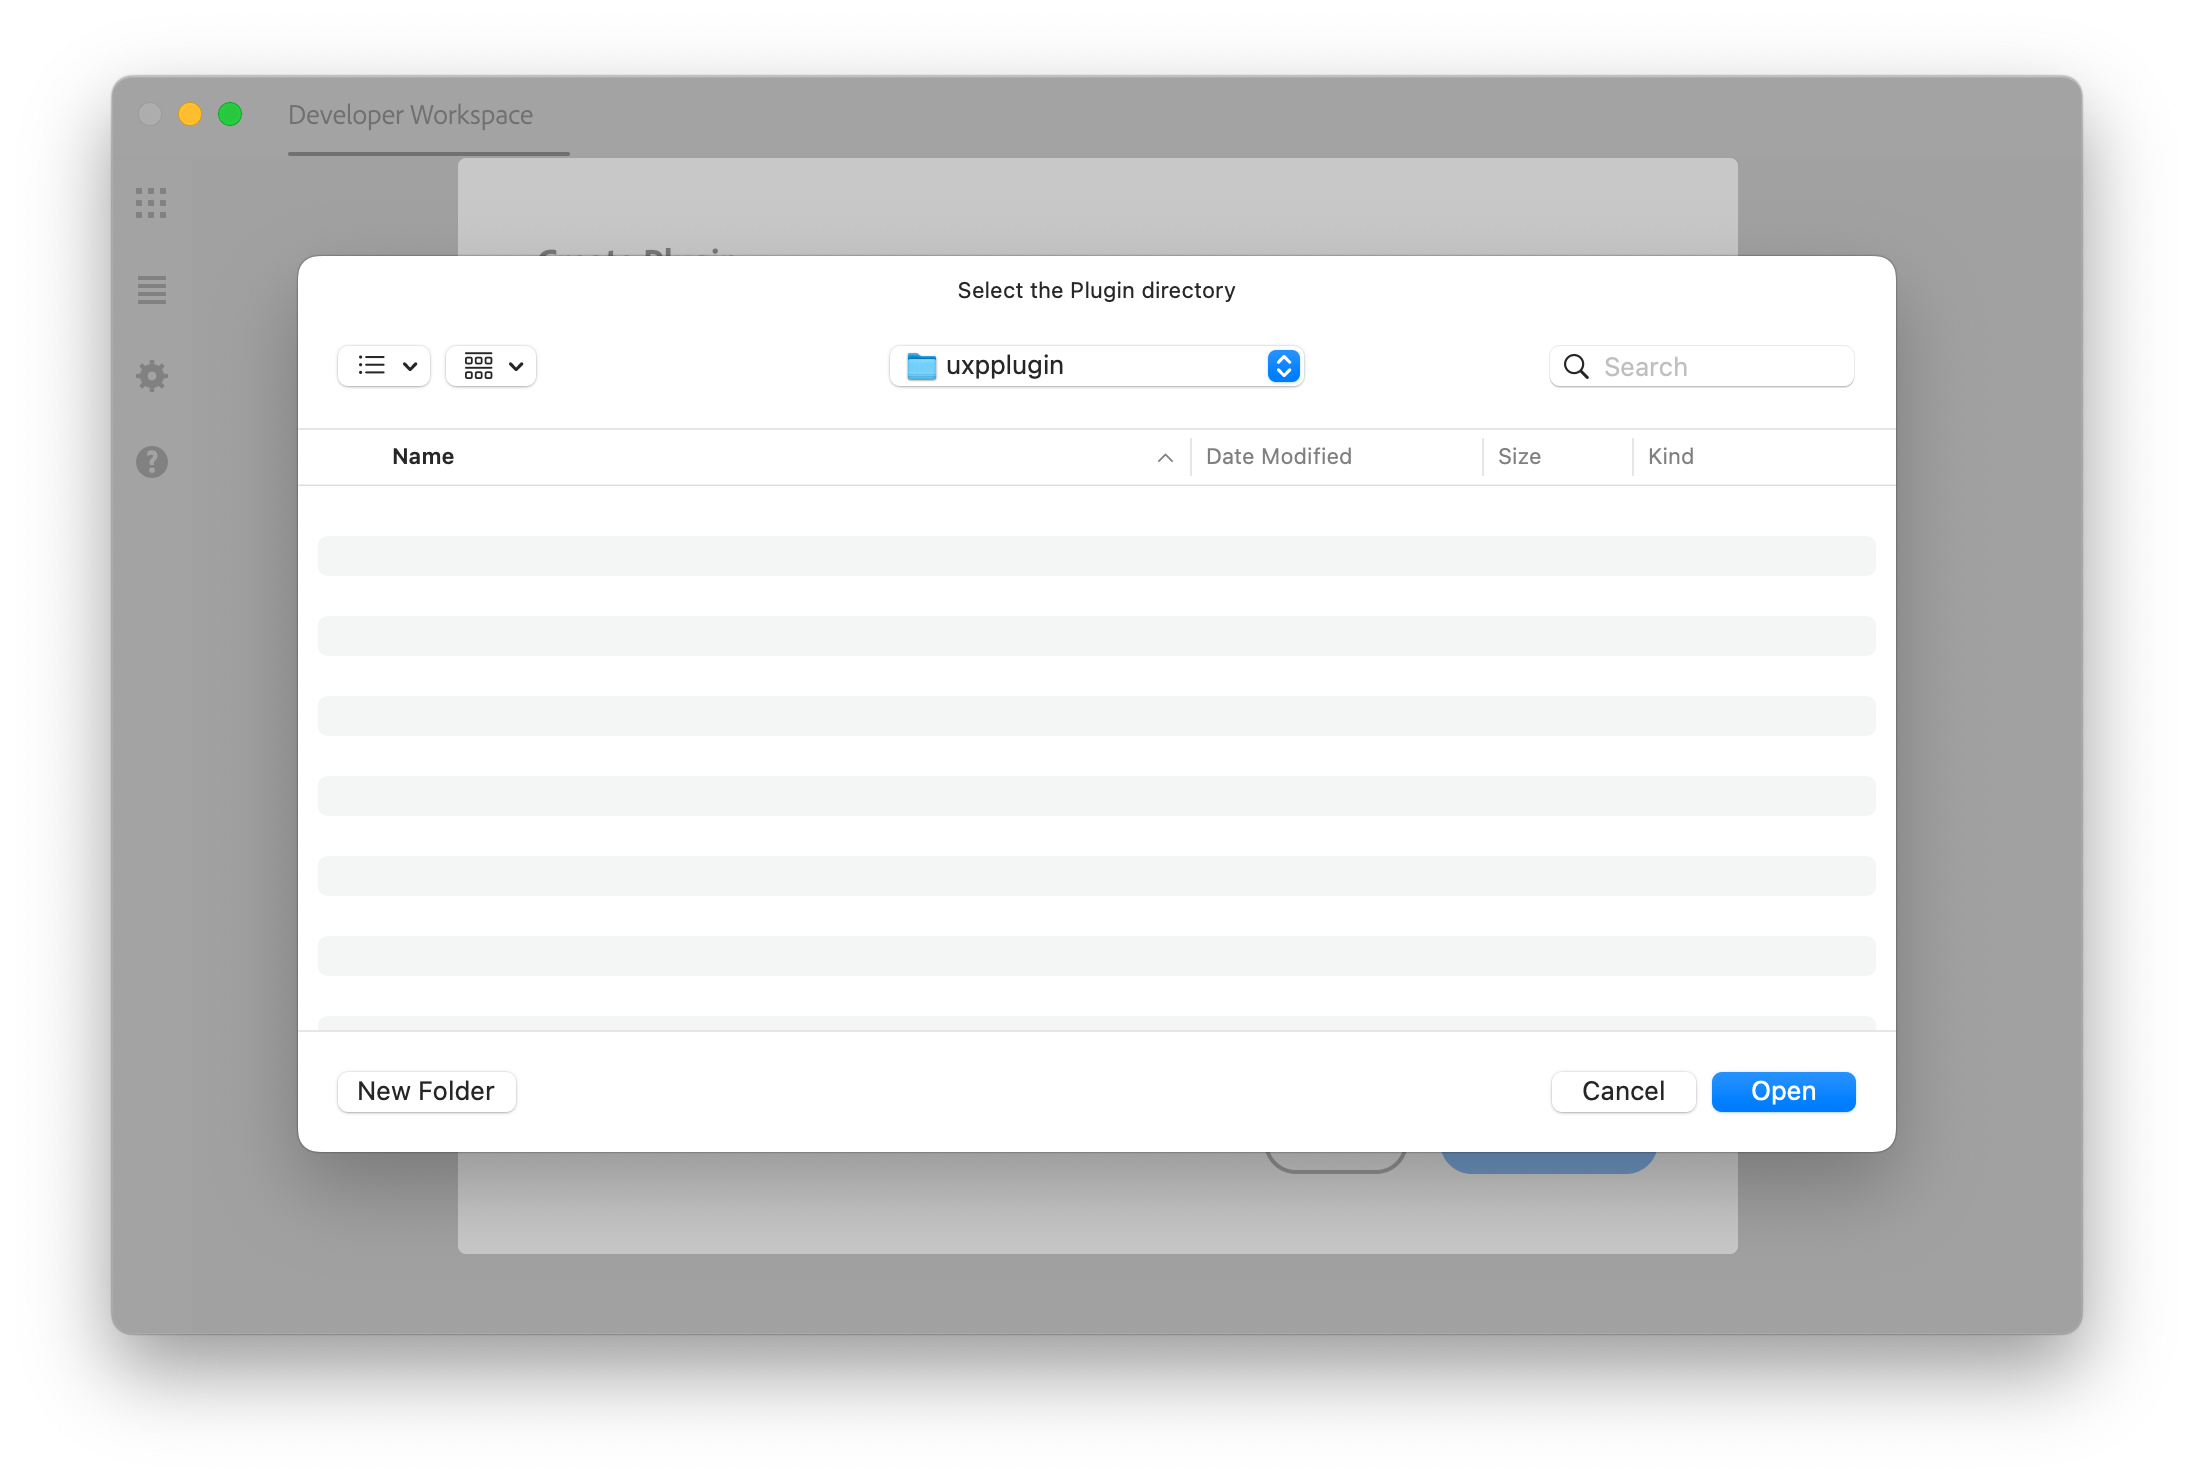
- Click the export folder icon and select the UXP plugin project folder


- Click Export and make sure there are no errors. An index.html file should have been exported> Check in vscode
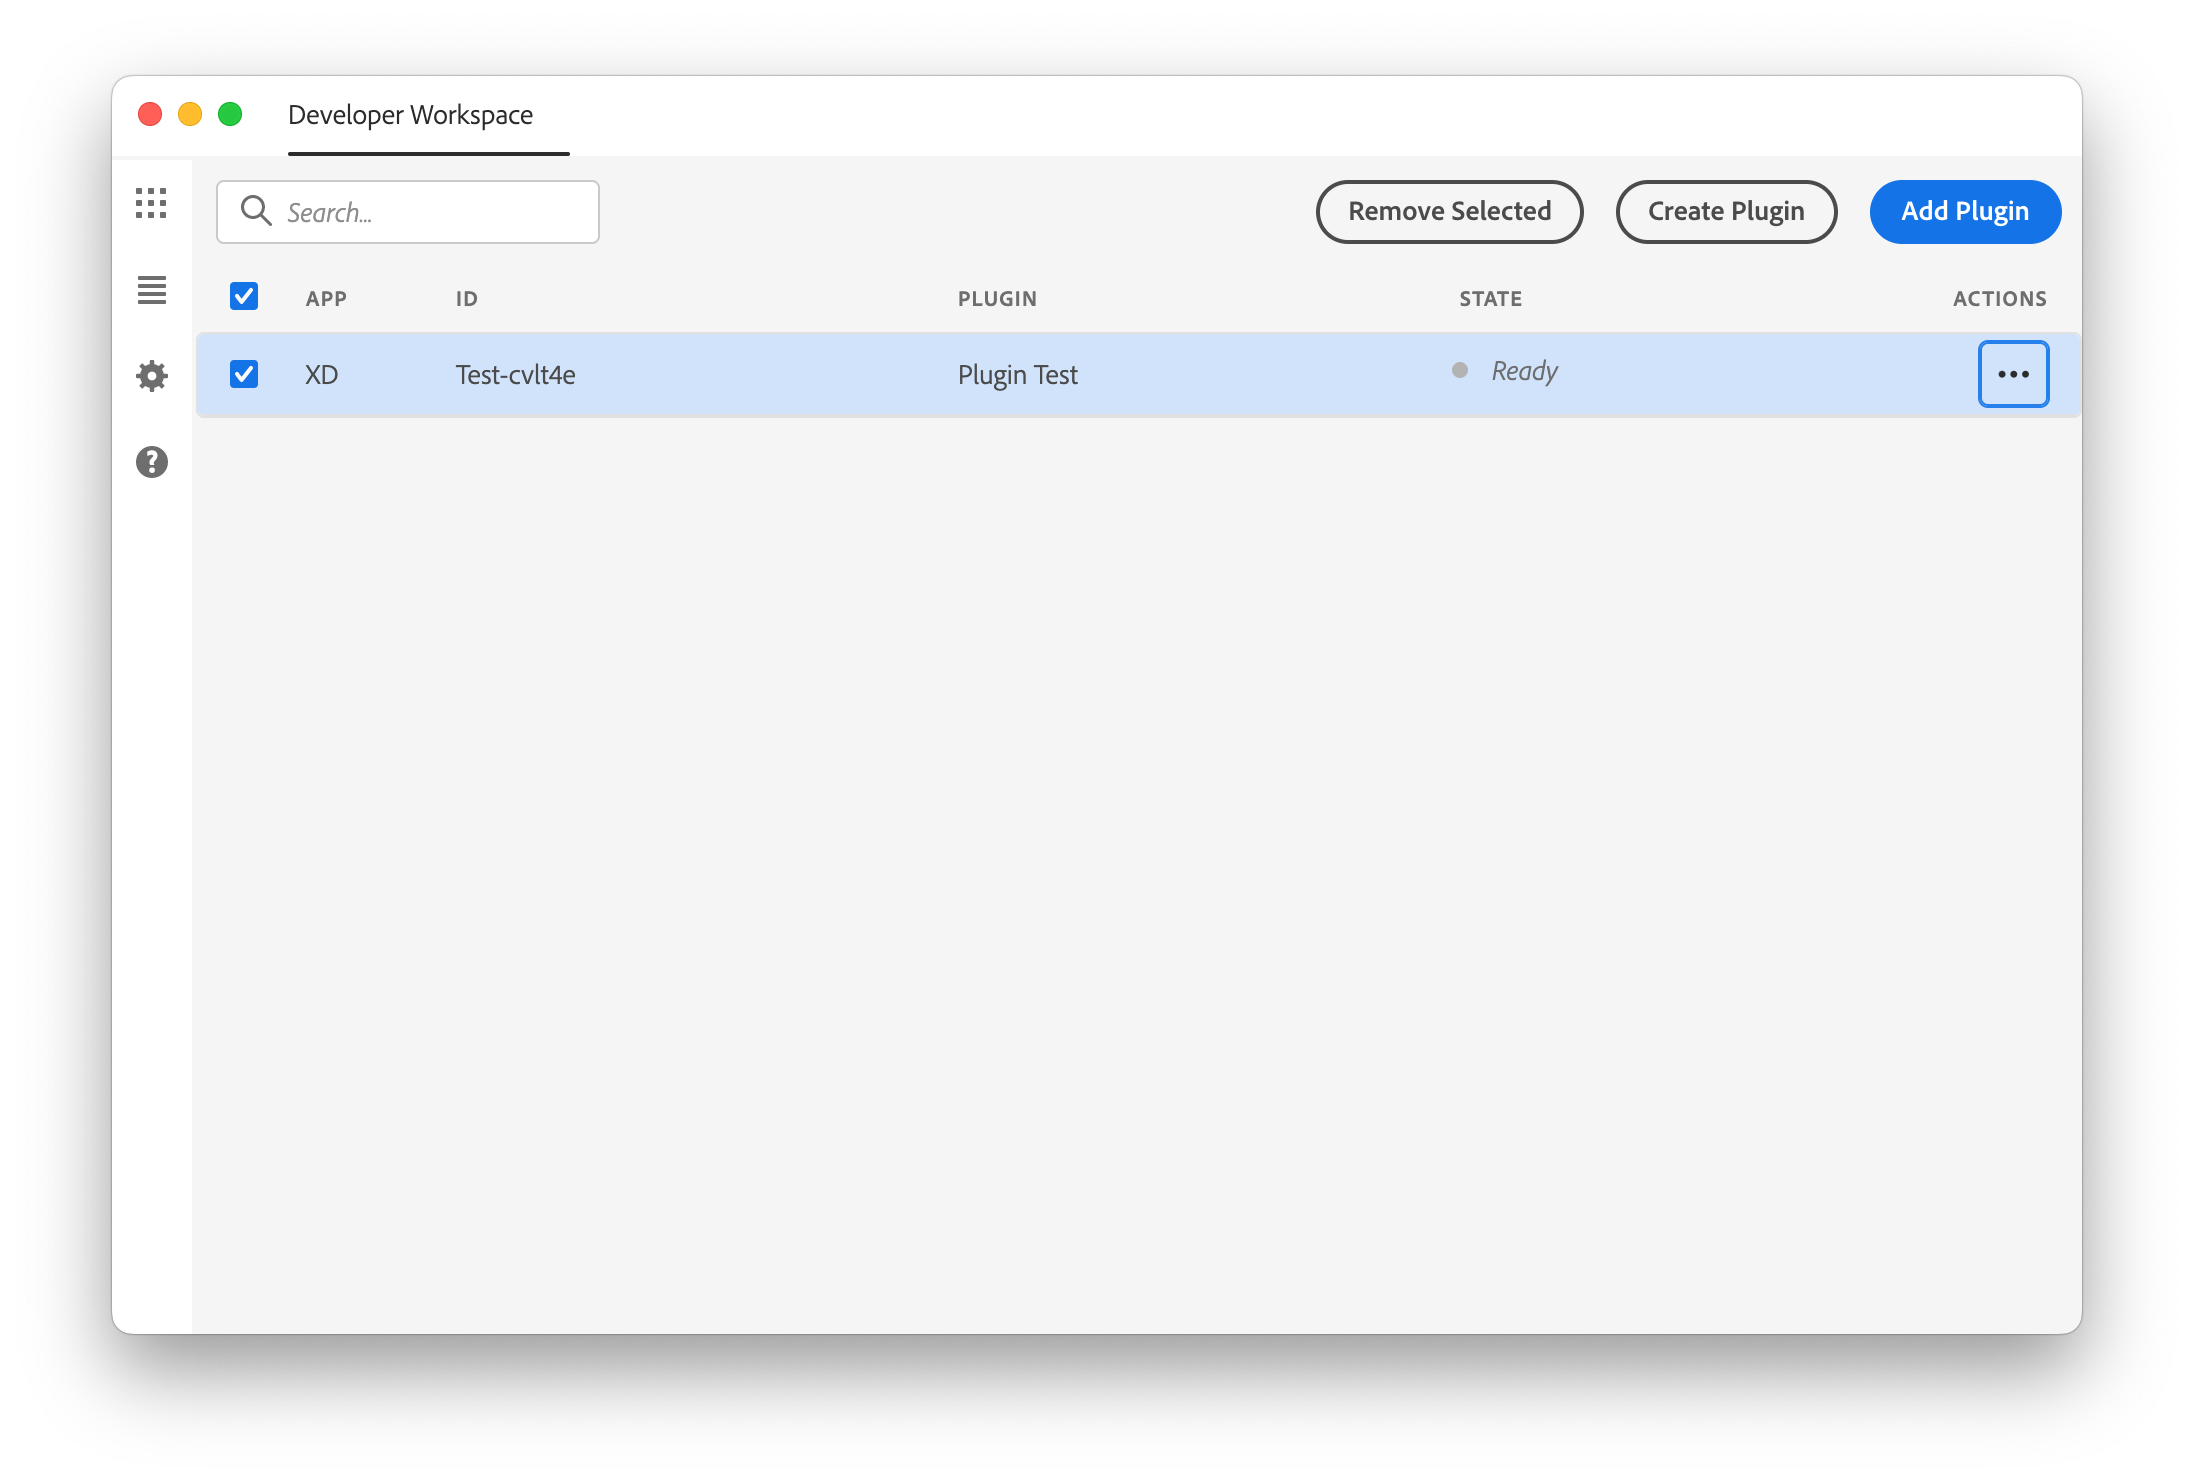
- In XD return to the plugins list


- Expand plugin test and make sure the menu options have changed
- Click the Show Panel option. The panel should now be shown reflecting the artboard design. Expand the panel if necessary
- Make changes to the artboard content and then press “CTRL + SHIFT + F” to quick export. The changes should be updated automatically in the panel
- Use background: transparent in the styles field to remove the white background of the panel. Quick export


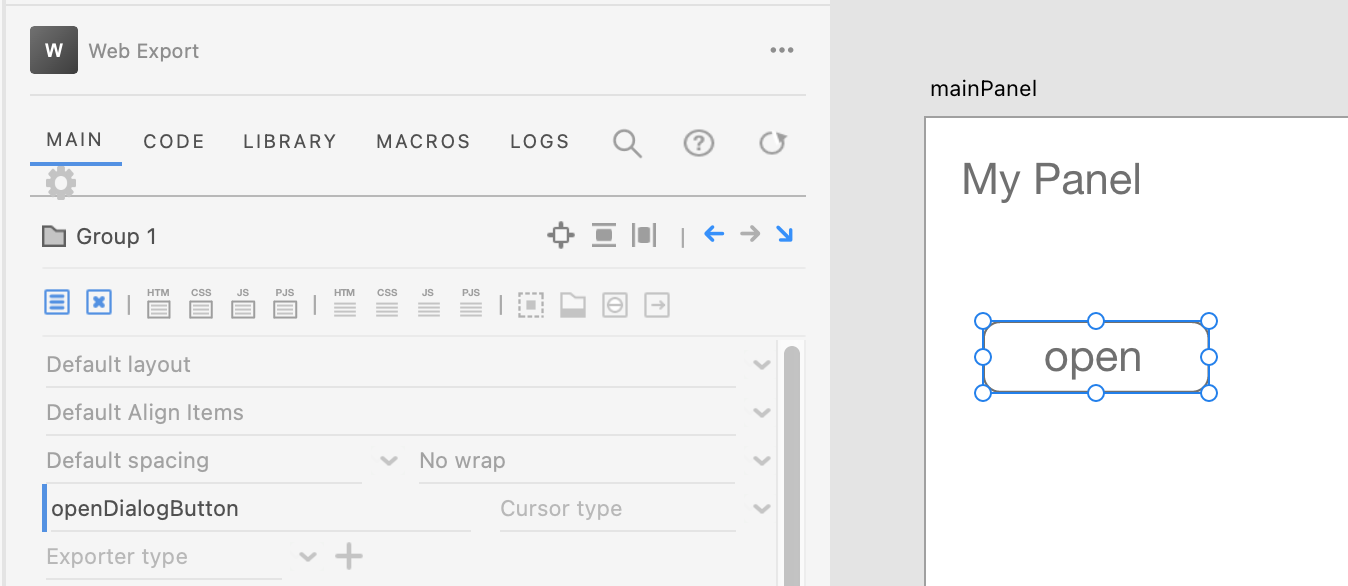
- Make a button graphic and set the id to “openDialogButton”
- Return to the test plugin panel and click on your open button. Clicking on this button will show your dialog. Press escape to hide the dialog


- Add a close button to the dialog and name it “closeButton” and quick export.


- Select the open button. In the tag name field enter “button” or “sp-button”. In the markup inside field enter “open”. Quick export and view the test panel


- In the style field enter “height: 28px” and quick export
- If the quick export dialog appears on each export and you’d like to turn it off go to the Web Export global settings and switch the “Show dialog on export shortcut” to off

- To make the panel responsive select the main artboard and set the width to 100%. Anchor the button to the right side. Quick export and review the panel by resizing

- You can set a minimum width if desired by adding min-width: 320px to the styles field
- To anchor an element to an edge use the anchor properties. Select the open button and click the Right anchor


manifest.json:
  "manifestVersion": 5,
  "main": "index.html",
  "entrypoints": [
      {
          "type": "command",
          "id": "openDialog",
          "label": {
            "default": "Show A Dialog"
          }
      },
      {
          "type": "panel",
          "id": "mainPanel",
          "label": {
              "default": "Show Panel"
          }
      }
  ],
code.js:
//////////////////////////////////////////
// MAIN PANEL
//////////////////////////////////////////

const { entrypoints } = require("uxp");
console.log("start")

function startup() {
    var openDialogButton = document.getElementById("openDialogButton");
    var closeButton = document.getElementById("closeButton");

    openDialogButton.addEventListener("click", openDialogHandler);
    closeButton.addEventListener("click", closeDialogHandler);
}

function openDialogHandler() {
    console.log("open dialog");
    openDialog();
}

//////////////////////////////////////////
// DIALOG
//////////////////////////////////////////

async function closeDialogHandler() {
    await closeDialog();
}

async function openDialog() {
    console.log("open dialog");
    const dialogName = "dialog";
    var dialog = document.getElementById(dialogName);
    var message = "An dialog element must exist with name " + dialogName;

    if (dialog==null) {
        console.log(message);
        throw new Error(message);
    }

    if (dialog.open) {
        //await dialog.close();
    }
    else {
        await dialog.showModal();
    }
}

async function closeDialog() {
    console.log("close dialog");
    var dialog = document.getElementById("dialog");

    if (dialog.open) {
        await dialog.close();
    }
}

//////////////////////////////////////////
// SETUP
//////////////////////////////////////////

var panelFunctions = {
    async create(event) {
        console.log("create");
        startup()
    },

    async show(event) {
        console.log("Show")
    },

    async update() {
        console.log("Update")
    }
}

function setupPlugin() {
    try {
        if ("require" in window) {
            const { entrypoints } = require("uxp");
            const panelName = "mainPanel";
            var message = "Panel name must be " + panelName;

            if (document.getElementById(panelName)==null) {
                console.log(message);
                throw new Error(message);
            }
            var openDialogName = "openDialog";
            var dialogFunction = window[openDialogName];

            if (dialogFunction==null) {
                message = "There must be a function "+openDialogName;
                console.log(message);
                throw new Error(message);
            }
            var setup = {};
            var panels = {};
            panels[panelName] = panelFunctions;
            var commands = {
                openDialog: dialogFunction,
            }
            setup.panels = panels;
            setup.commands = commands;
            entrypoints.setup(setup);

            console.log("after entry.setup()");
        }
    }
    catch(error) {
        console.log(error)
    }

    if ("_pluginInfo" in entrypoints) {
        console.log(entrypoints._pluginInfo.manifest.analytics);
    }
}

setupPlugin();

console.log("end")
With some additional work you can make the UI responsive and add your own form controls.